It is surely no surprise for developers to work with HTML-pages on the server side and to assemble them on the client’s side. Magento ® 2 also attempts to provide such advantages by differentiating the data processing and data presentation process.
In this article, we review such tips.
We don’t consider the use of the features of Swagger, we just give an example of how to use it when integrated with Magento ® 2, in the anonymous and authenticated user modes.
Access to Magento ® 2 Services
We deployed a module for Magento ® at http://mage220.gomage.com/swagger/
(login: gomage; password: uQuo1xae).
To start using Swagger in the anonymous user mode, you should go http://mage220.gomage.com/swagger/ . At first, the Swagger application is loaded and it is fast enough, and then there is loading of the web-services description, which is slow in Magento ®.
Anonymous requests
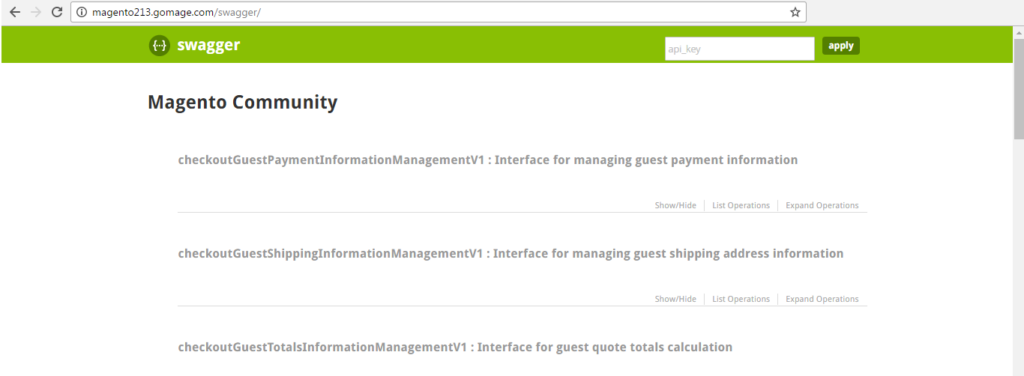
Then Swagger generates a list of services that are available to an anonymous client:
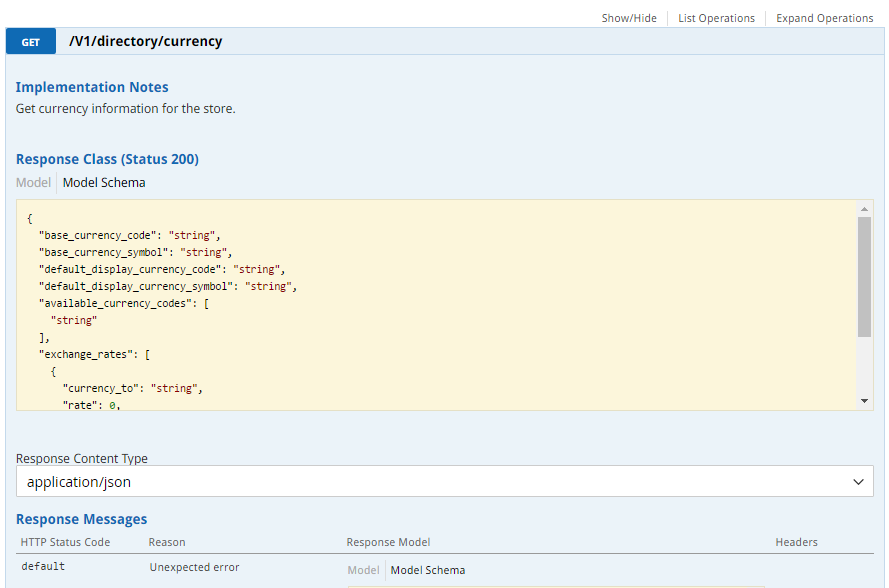
And it allows you the ability to analyze these services in a comfortable way:
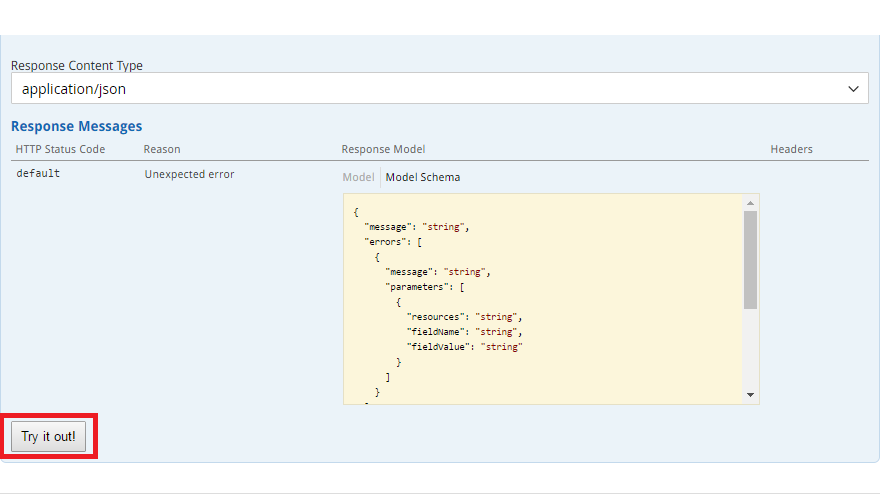
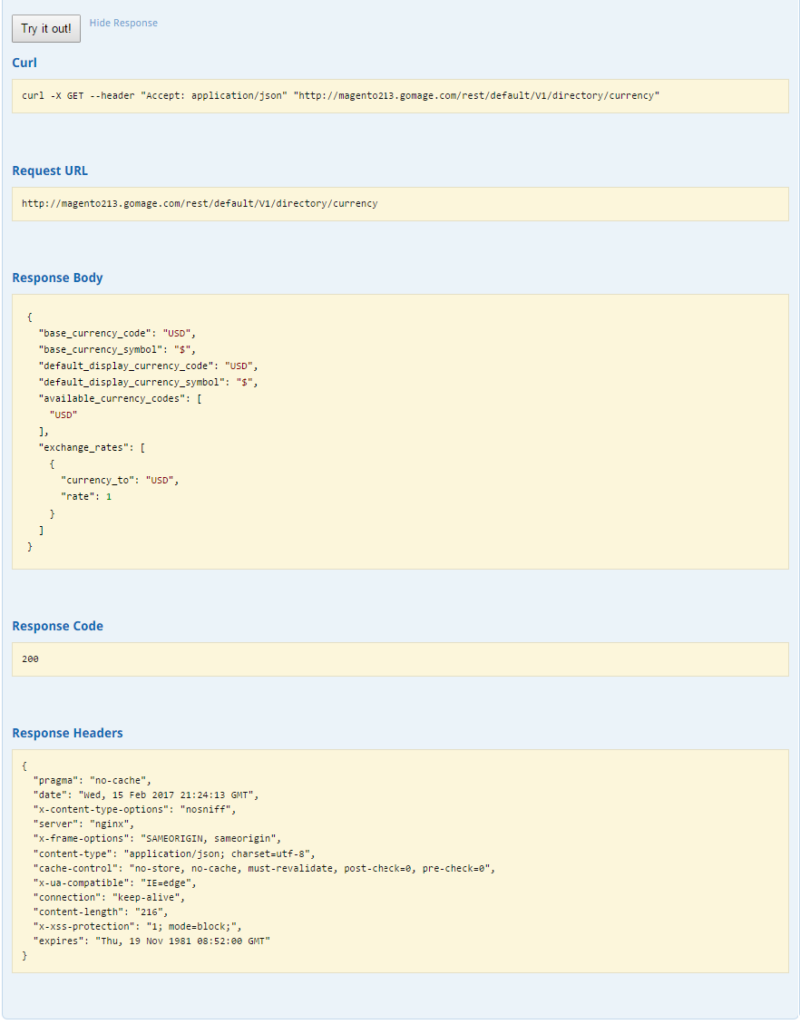
and also it allows users to form queries:
and analyze responses:
Access to the limited services
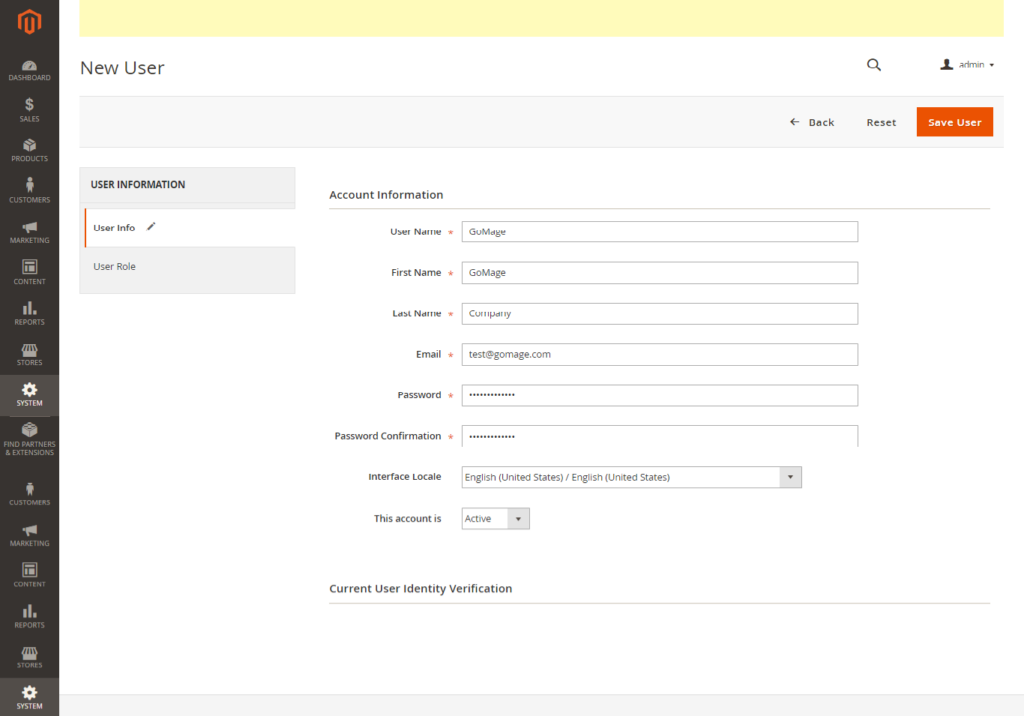
First, you need to make an extra user account in Magento ® (specifying admin user for access to the service is not a good idea given the security hole that is opened up as a result):
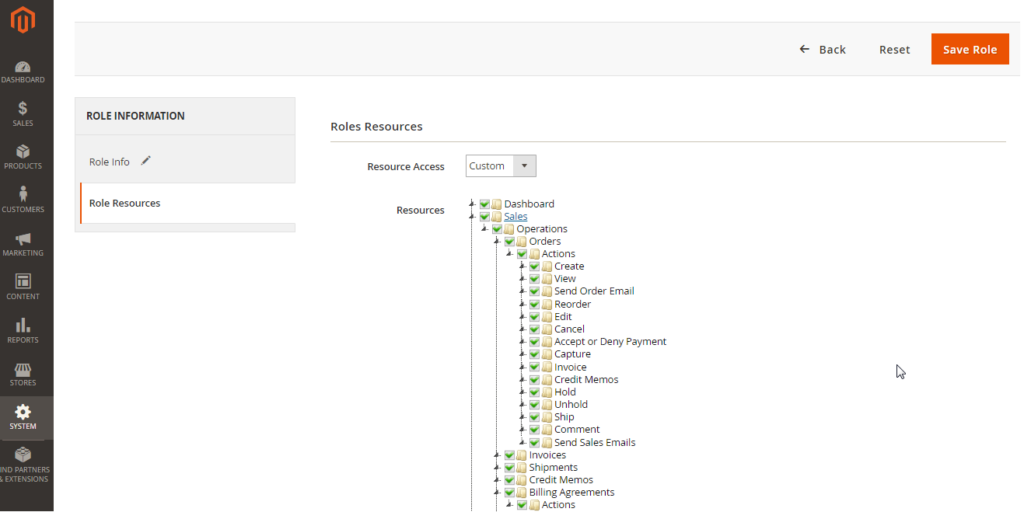
then assign access rights (User Roles):
We recommend following this procedure:
First, create a role and then create a new user, and assign the role to that user.
In this process, note that providing all rights through the role is not a correct approach, but it is possible. In our example, the role of “GoMage” is assigned to the user “GoMage” and full access to any resources has been assigned accordingly.
Authentication via the web-interface is not available in Magento ® 2 which means you need to authenticate manually through universal REST API client, through code or through the “curl”:
curl -X POST "http://mage220.gomage.com/rest/V1/integration/admin/token" \
     -H "Content-Type:application/json" \
     -d '{"username":"GoMage", "password":"dsgdifksFlsjgkcxvgdrgxj"}'
All you need to do is send some JSON-text with the parameters of authentication to a specific address (don’t forget about the header with request content type). In reply, you receive the session code to access the limited services.
The code will be received in quotation marks, but you can use it without them. Then enter the code in the appropriate field:
And you get access to an extensive list of services.
Further work with the services is no different from working in the anonymous user mode. The session key for authentication is automatically added by Swagger.
There is no doubt that using Swagger makes your work much more convenient and gives a lot of advantages in the process. If you have any questions or propositions, contact us at [email protected].

